
I got chance to salvage my old fauhalber 1717t motor from my mouse last year so I don’t need to purchase new one. All the holes for shaft and mounting are 2mm diameter and fit well with M2 screws.
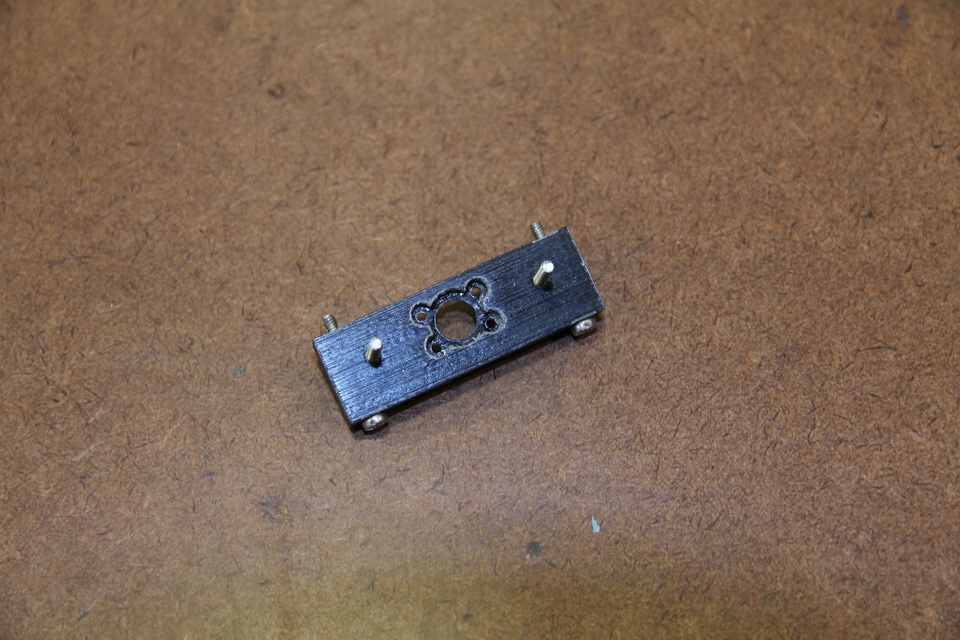
However, the shape I designed to perfectly fit motor is a little smaller than it supposed to be. I cut off a 17mm diameter circle on one side of motor mount so the 17mm diameter motor can perfectly fit into that concave. But I put too much expectation on high precision 3D printing and the concave was a little smaller than 17mm.
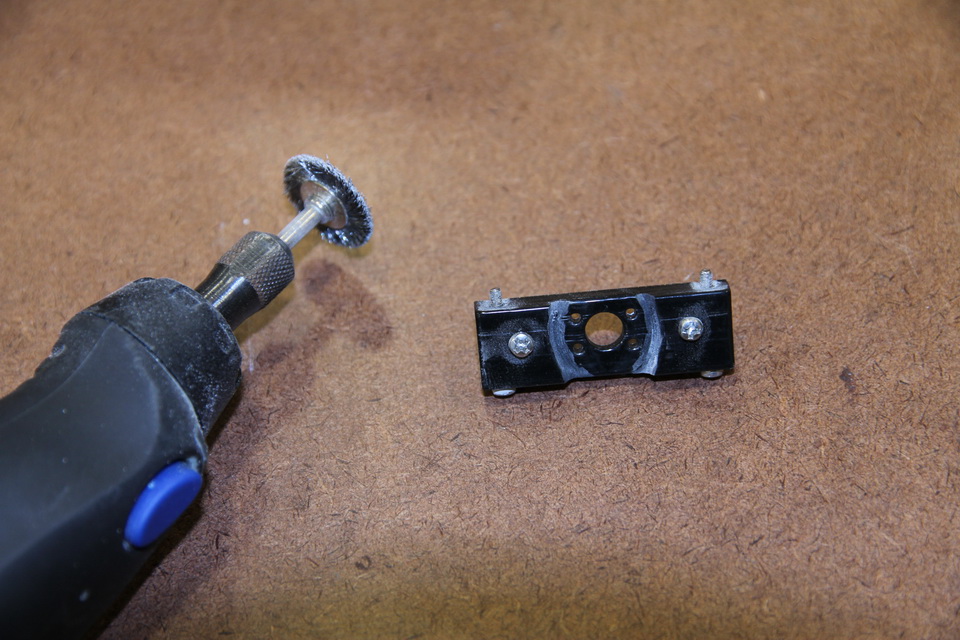
In order to make the motor closely attach to the mount, I had to use dremel to slightly expand the concave. Though it was ugly after polishing but it was actually hiding inside when the motor was mounted.
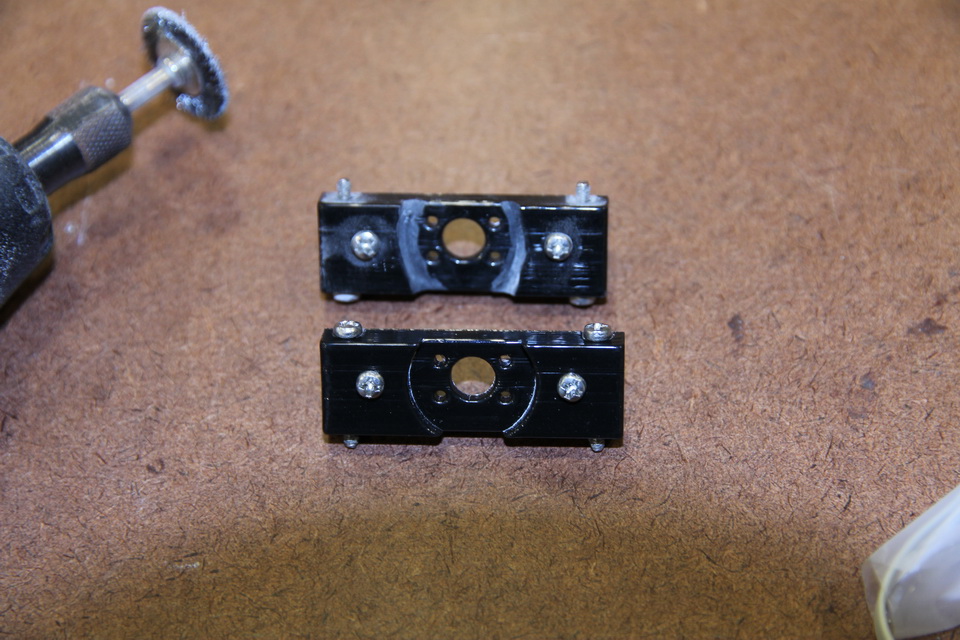
Here is the comparison between expanded and unexpanded motor mount
I can finally mount my motor onto the mount. the hole I reserved for 4 M1.6 screw fit tightly there, so for the M0.5 12T gear.
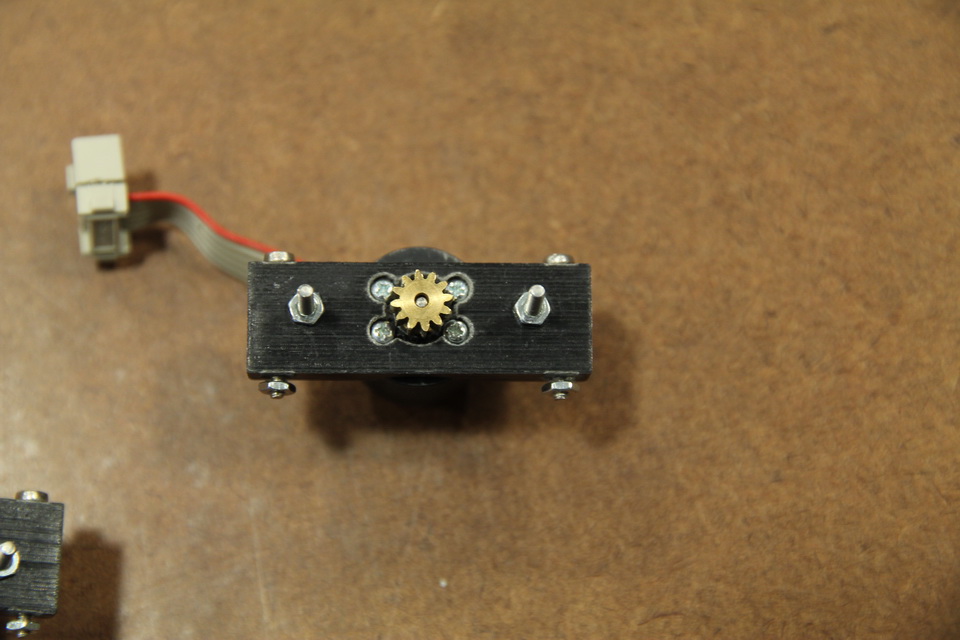
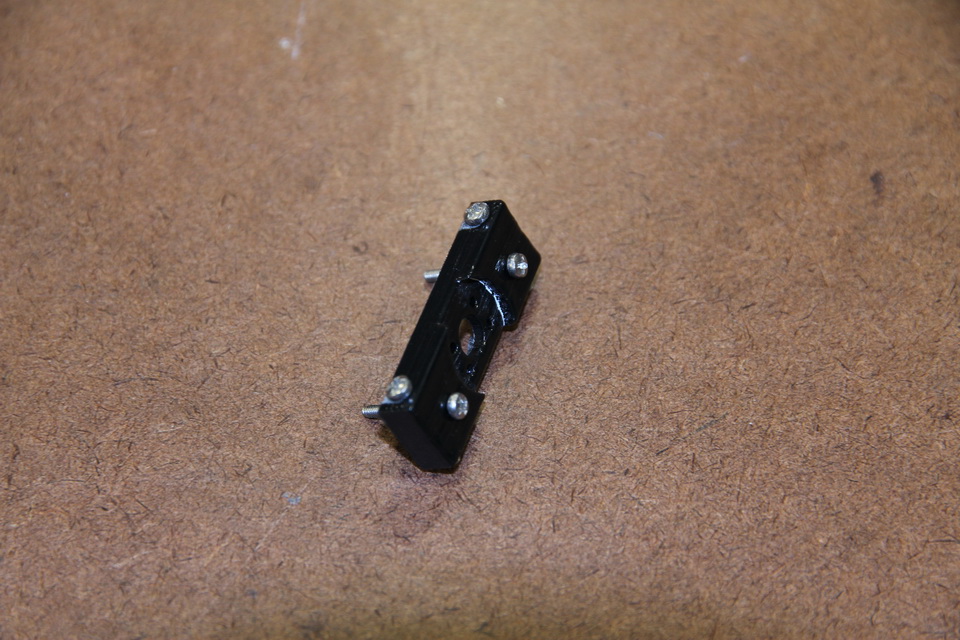
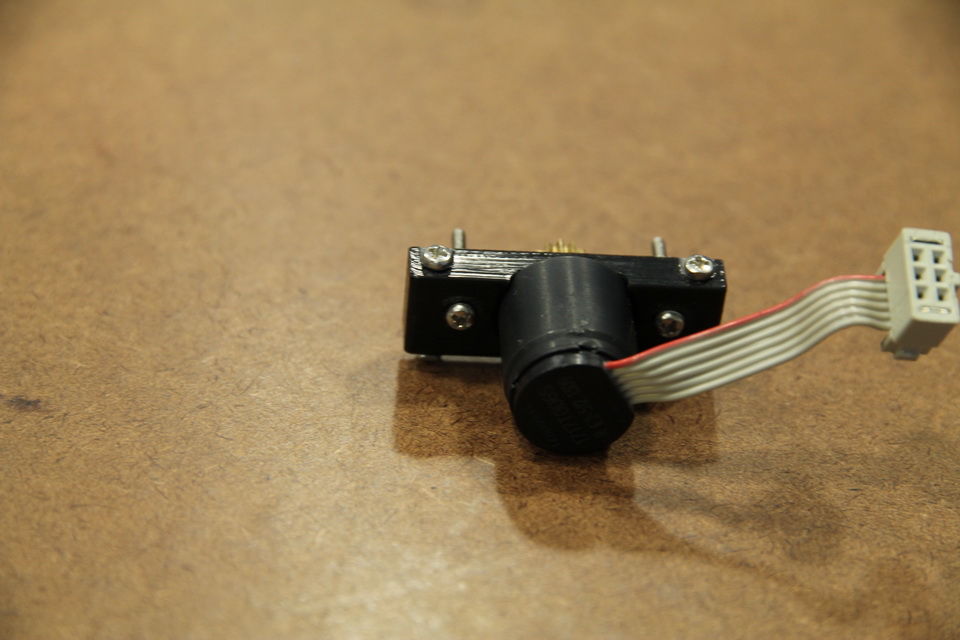
Rear View of the mount.
 Then I tried to put ball bearing onto the shaft, secured by M2 screw at the end. I will use locker nuts for my final version.
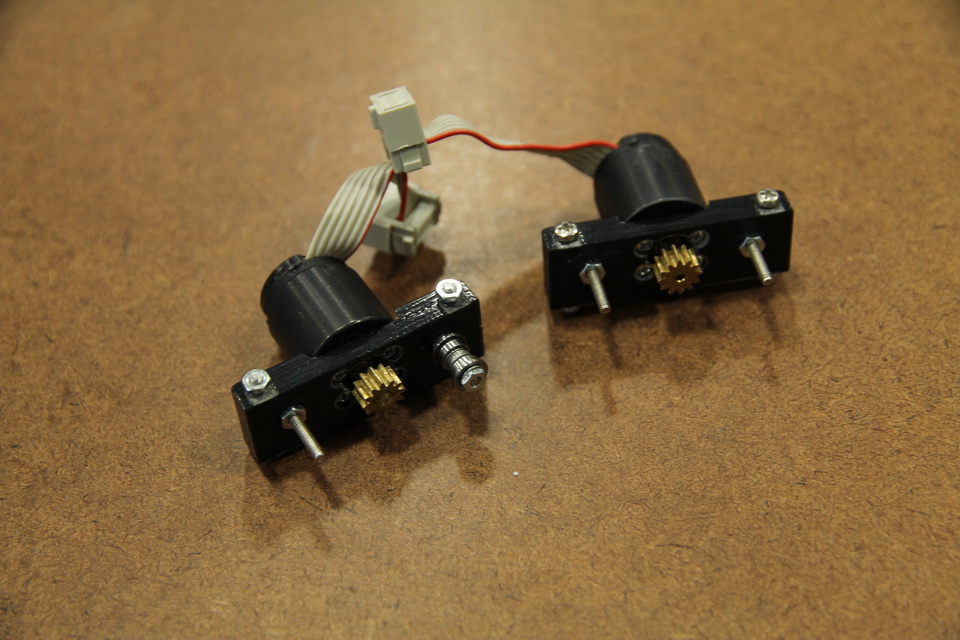
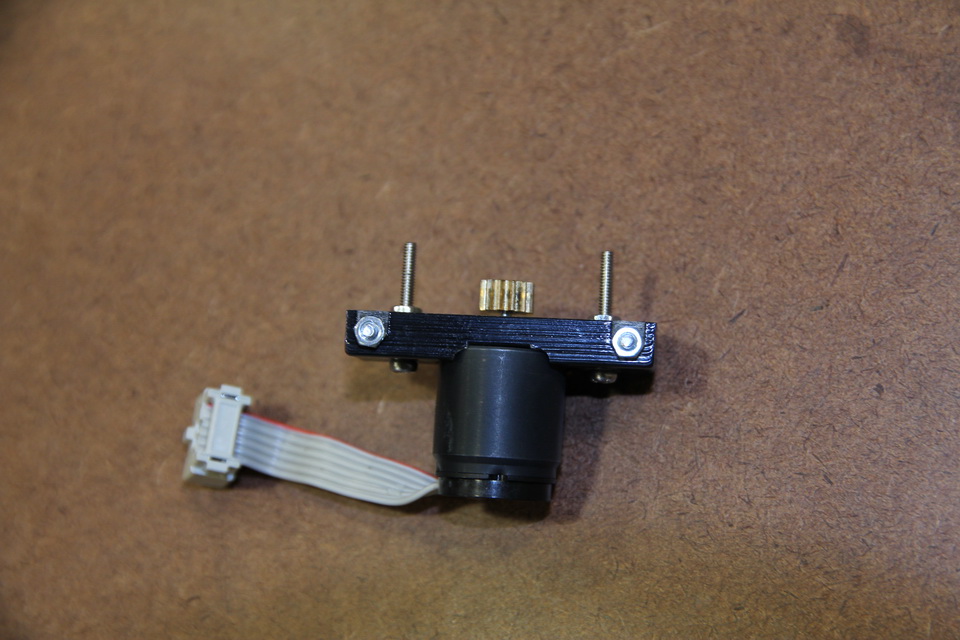
What I am still unsatisfied so far is the washers I used to support between screws and ball bearings were bigger as I wanted. the outer diameter is 3.7MM for a M2 washer is kinda unacceptable for me, I am still looking for suitable material for smaller M2 washer.
I am still waiting for rest of the parts, once the DS 0.5-40 gear got delivered, I will try to put them on to see if all gears fit each other(I will likely fit each other well but I still want to know the results).

Great job ! I like what you are doing man ! good luck !
please ! were can I get motors and encoders like yours ?? thank you
If you live in United states, the distributor in USA is micromo.com . you need to contact them to get price quote. I got one 1717 6V motor attached with IE2-512 encoder with about $112 each, $224 for 2 motors.
thank you so much !
and where can I find wheels like those you have
My wheel is 3D printed, but you can buy mini-z wheel and expand the hole for gear to fit the wheel.
Would you be able to recommend motor+encoder combo that are around $25 each? $224 is a bit expensive.
you can check the project futura on my website for cheaper encoder motor solution.
What is the aperture of the pinion gear/size of motor shaft you have? May I ask what the name of the gear is/where you got it from? Thanks!
40:12 gear M0.3
the 12T gear I got from skyhooks.
the 40T got from here: http://qtcgears.com/products/spurgears.php
Please tell me how you fit the pinion to the motor. I tried with a brass pinion and it just felt like the force I would have to use to get it on was going to damage the motor.
How did you fit the pinions onto the motor shaft?
Hi,
Please tell me how you were able to fit the pinion gears. I’m stuck. I dont want to destroy the motors, they were quite expensive.
Thanks
if you think they are tight then you need to give extra distance between gears
Hey Green,
but how did you securely mount the small gear onto the motor shaft?
Did you heat the gear up and let it cool around the shaft?
Grettings from Germany
-Hannes
I used epoxy glue, general purpose or specialized for metal(if gear is metal)
there are loctile shaft adhesive available as well for this purpose.
heat mount could be risky consider the motor is very expensive.