
A typical micromouse serials two 3.7V li-po batteries to make 7.4V supply voltage to power the entire system. Usually the larger the capacity for battery the longer the mouse can run. However, we really need to make a balance between the weight and the capacity since the light weight will enhance the accelerate and turn performance.
As of for my mouse, what I used to use was sparkfun 110mah lipo battery. As what the datasheet said, it only has 2C discharge rate. Before I go with rest of the post, I need to explain a very importance spec for lipo battery: discharge rate.
Discharge rate pretty much indicates how much current the battery can provide. In order to fullfill the requirement of all applications in the system, we need to make sure that the capability of the battery is beyond the need. I take my mouse as the case, because my mouse uses fauhalber1717T006SR motor, and the max current at 6V is 0.6A. Because a 3.7V lipo battery will get 4.2V max voltage when fully charged, the battery voltage will become 8.4V max for my system, so the current consumption at 8.4V is 0.84A. Consider I have 2 motors, the max current is 0.84 x 2 = 1.68A. The actual current consumption will always be lower than this value, but we only use this as the worst case scenario.
In fact, the equation for calculating discharging rate is quite simply:
Discharge_Rate = Discharge_Ratio X Battery_Capacity
Discharge Ratio always comes with a number, followed with a letter “C”, for instance, the battery I used to use has 2C discharge rate, and the capacity is 110mah, thus the discharge rate is 2x110mah = 0.22A.
You will notice 0.22A is way lower than what motors need, and the mouse did shut off when motor accelerate hard. In order to solve the problem, I parallel two 3.7V batteries to double the discharge rate, ended up using four sparkfun 110mah lipo batteries to make a 7.4V system, and the overall discharge rate was doubled from 0.22A which was 0.44A. After that, the motor no longer shut off easily, and mouse can run normally, but the system still shut off when there is a even larger current consumption was happening such as I accidentally stop the motor and etc. Also since I used 4 batteries, the weight was also an issue.
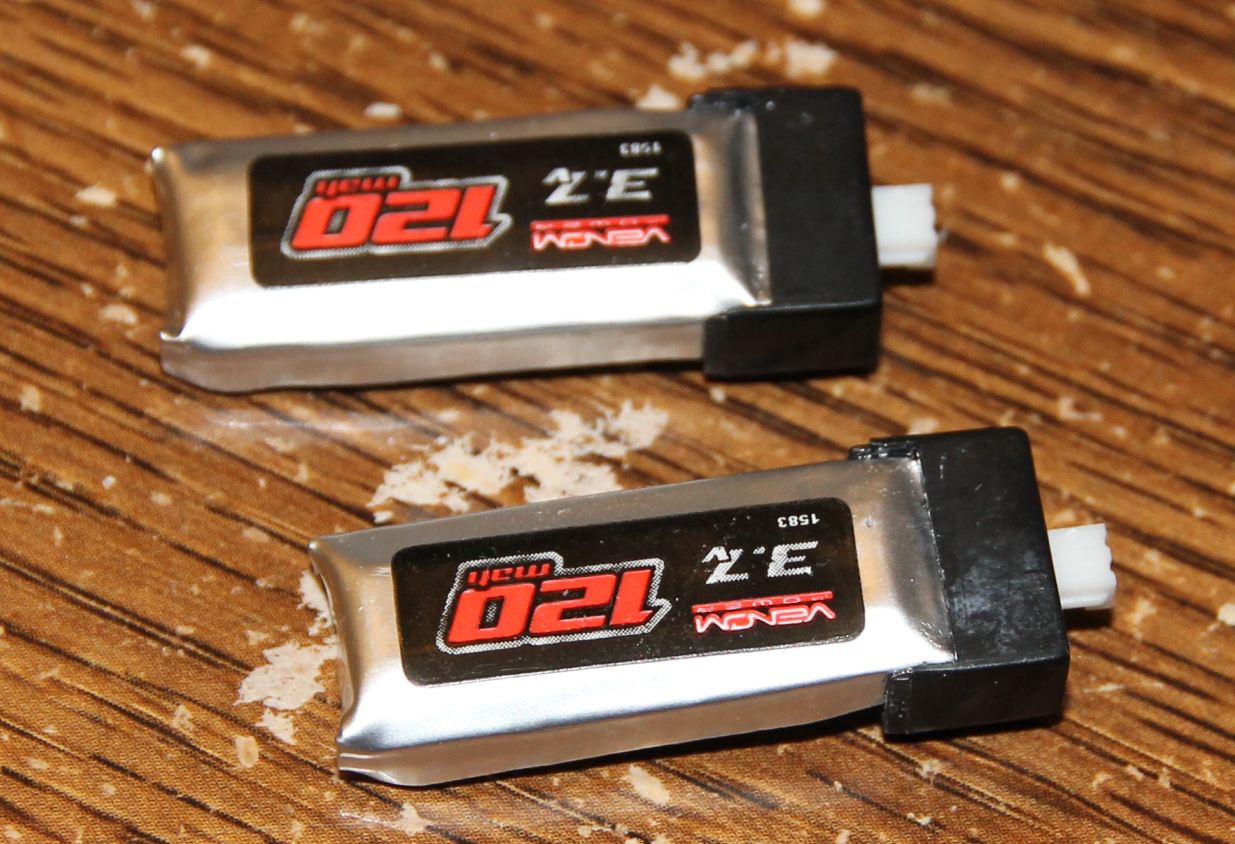
Then I turned to find a better battery to not just getting lighter weight, but more current output as well. After consulting with several other Micromouse players, I aimed at some 20C-25C discharge rate batteries. As what I mentioned above, the discharge rate is determined by both discharge ratio and the capability. In order to make a perfect balance with the cost, size(weight), and performance, I decided to use 120mah 25C battery.
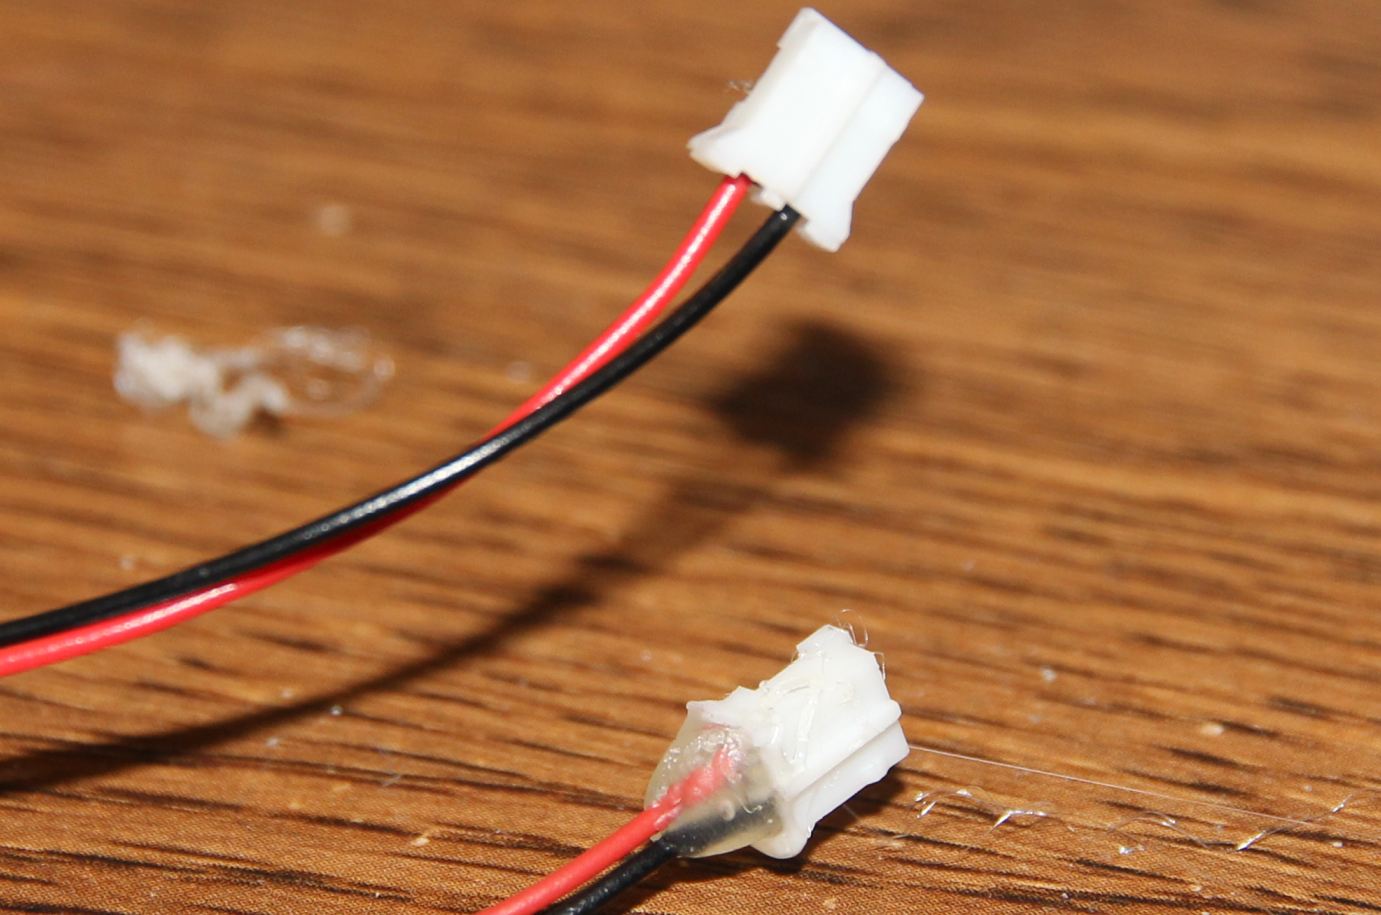
If you make your own google search, you will find most of these 20c-25c lipo batteries are for those RC helicopters, and most of them are long and thin. I have like 31mm distance between the motor mount where I hold the battery on the mouse, so the overall length shouldn’t exceed even 30mm. Those batteries have a extruded built in battery plug, along with a plastic shell on the top.
The 120mah 25C battery I bought has 37.5mm length with the shell and the battery jack. However, I need a plug with extended wires, and a modification becomes necessary in this case in order to shrink the length and make a usable plug.
Before I started to modify the battery, as what I estimated, the length should be around 30mm after modification. and the height shouldn’t exceed 12mm since i will stack 2 batteries together to one piece.
Here is the detailed procedure how I modify the battery to replace the battery jack:
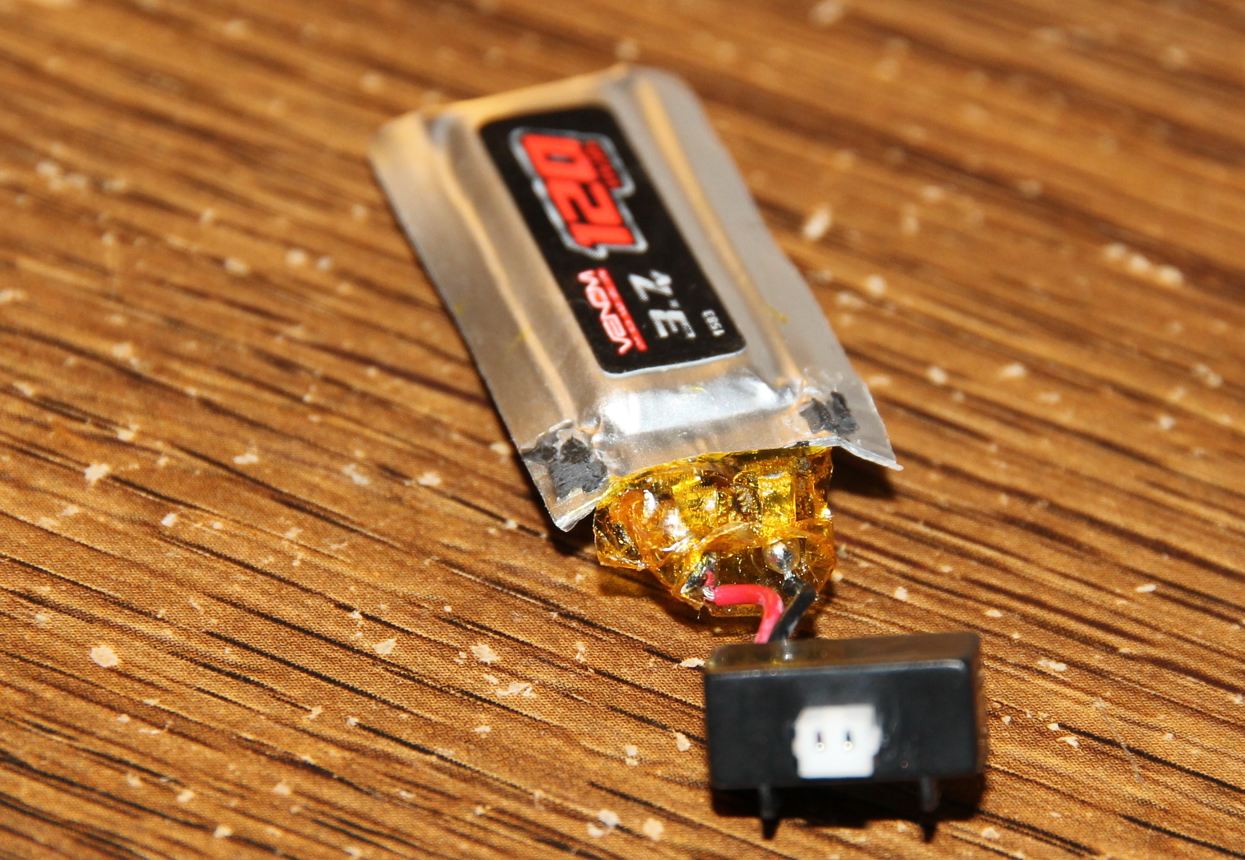
Firstly, I need to remove the plastic shell on the top safely in order find the power terminal hiding inside.
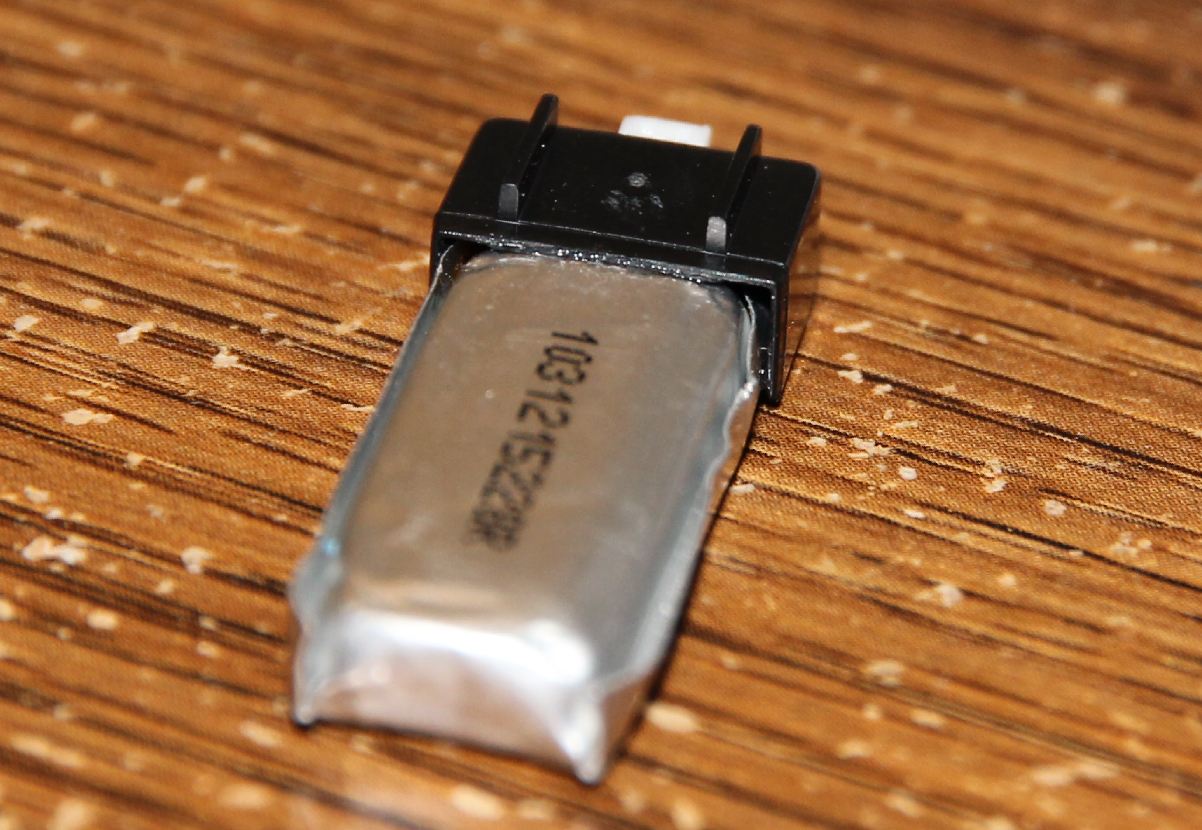
If you place the battery this way, you should be able to see a noticeable gap on the top two corners. All you need to do is just find a sharp tip scissors to cut through the gap until the end for both gaps. Once you have 2 cuts, you can easily lift the top side of the shell.
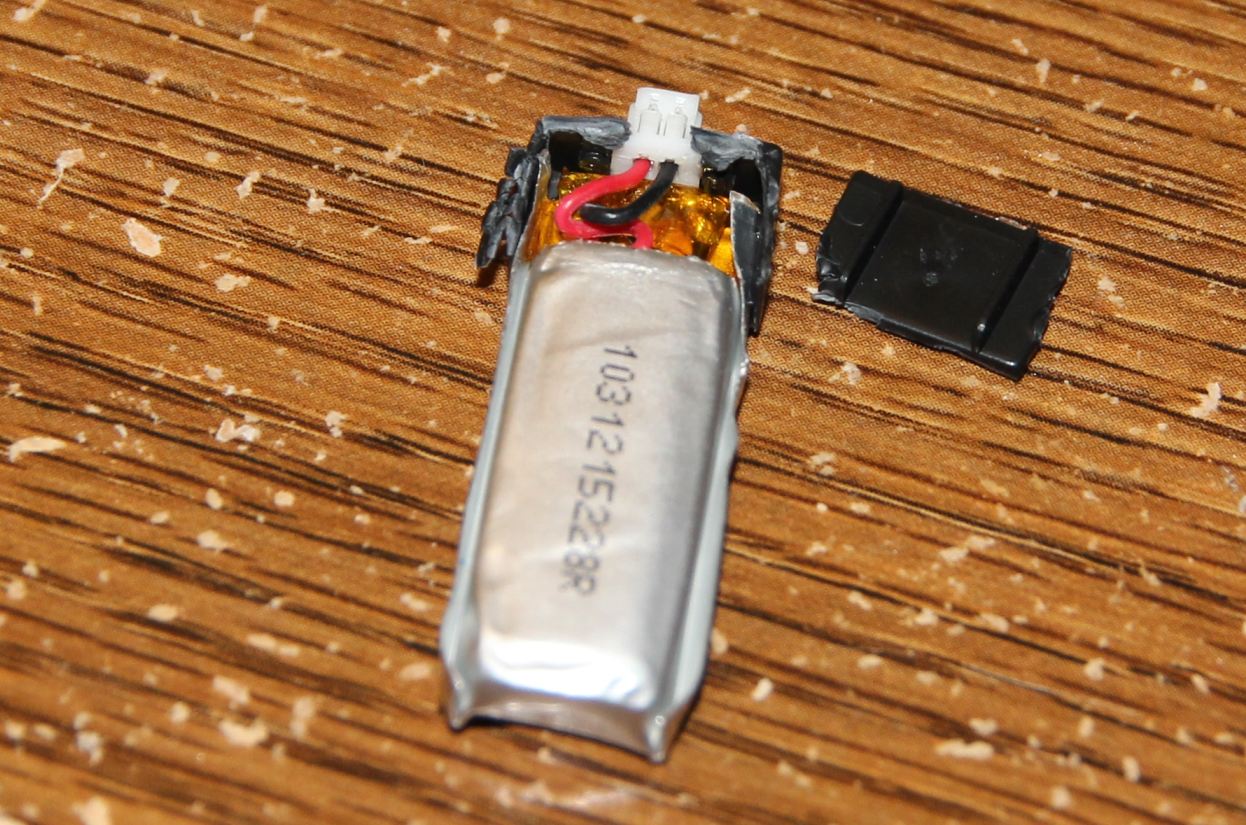
Once you lift the shell, carefully remove the thermal tape and make the solder terminals exposed.
Then you need to carefully desolder the original connections and replaced with your own wire. You can make the battery jack with extended wires first then solder of the battery terminal.
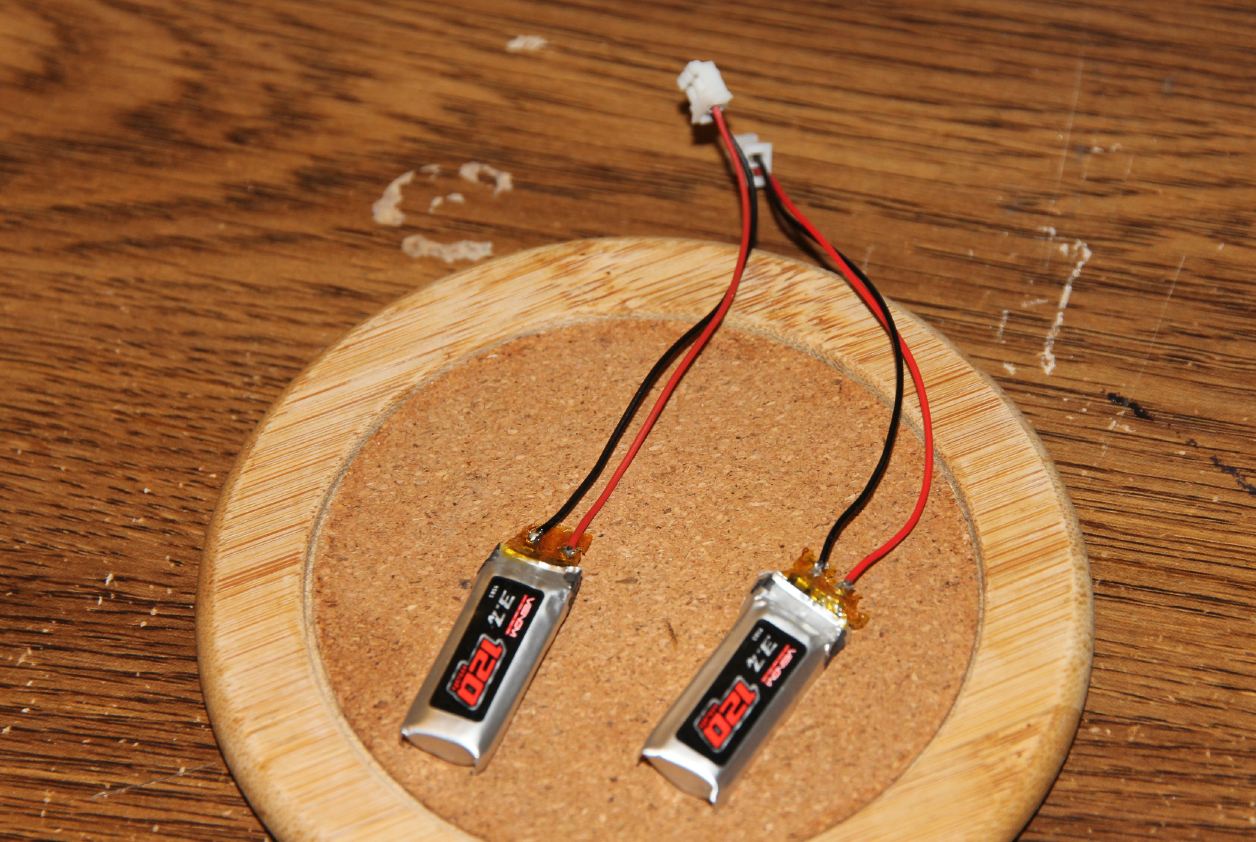
In order to enhance the strength of the plug to prevent wire being pull out form the jack, trying to apply some hot glue out there as showed in the picture.
Then trying to wrap 2 modified batteries together with either electric tape or thermal tape.
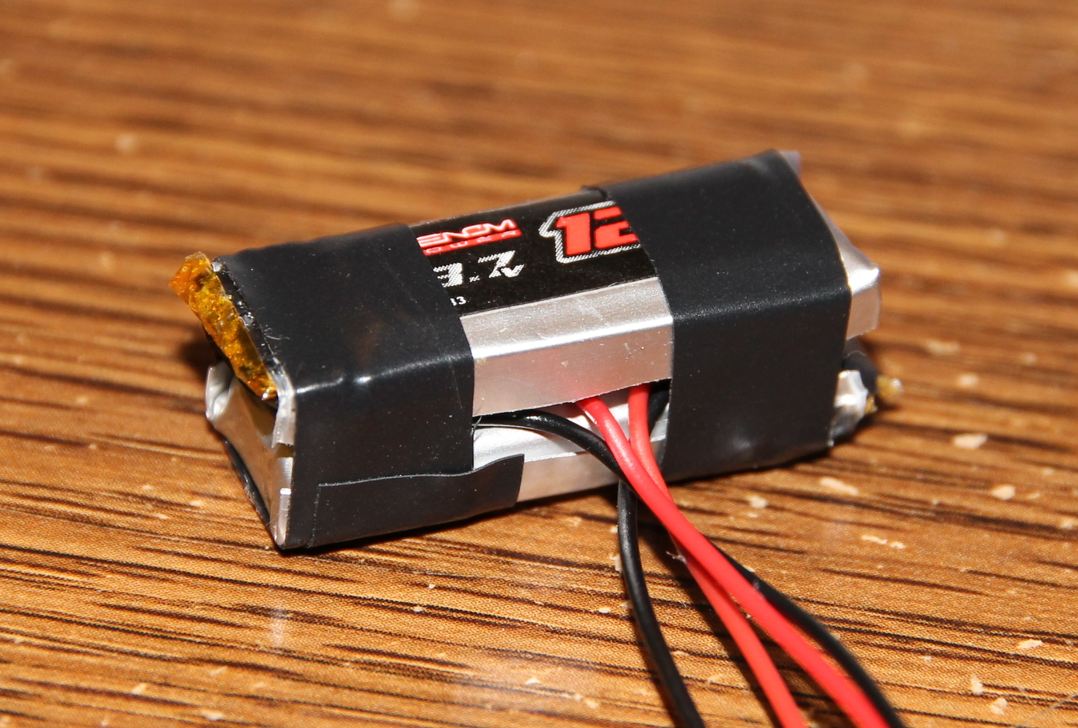
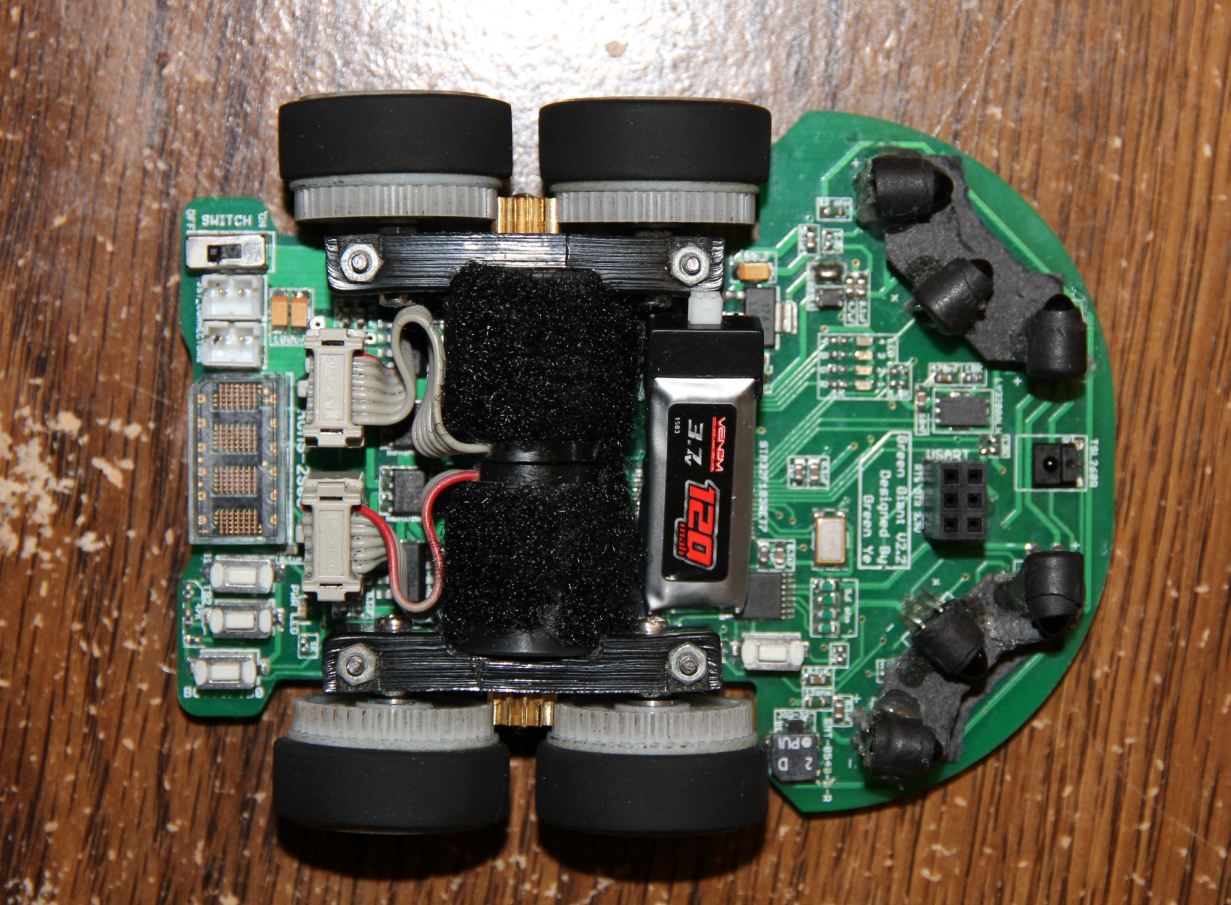
Before you completely tape 2 batteries together, you need to check if the modified battery fit on your mouse.
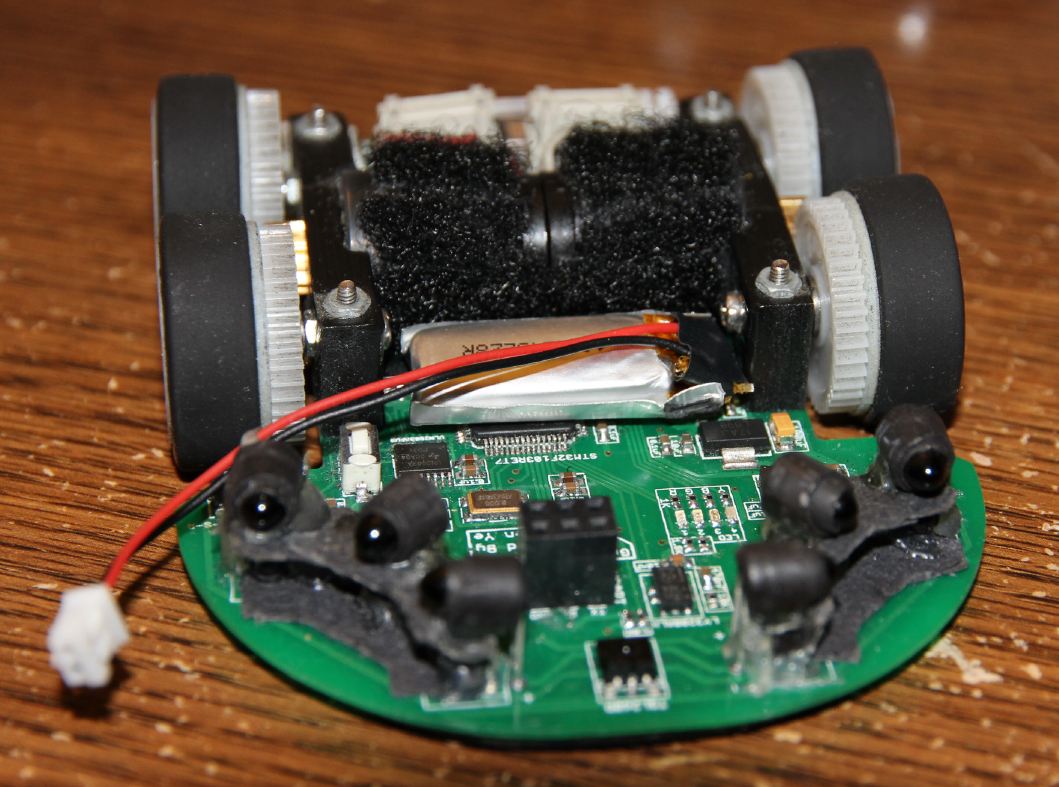
Alright, seems it fits well. The overall length is about 30mm as I expected, well job done here! All left is just completely tape 2 batteries together and mount of the mouse.
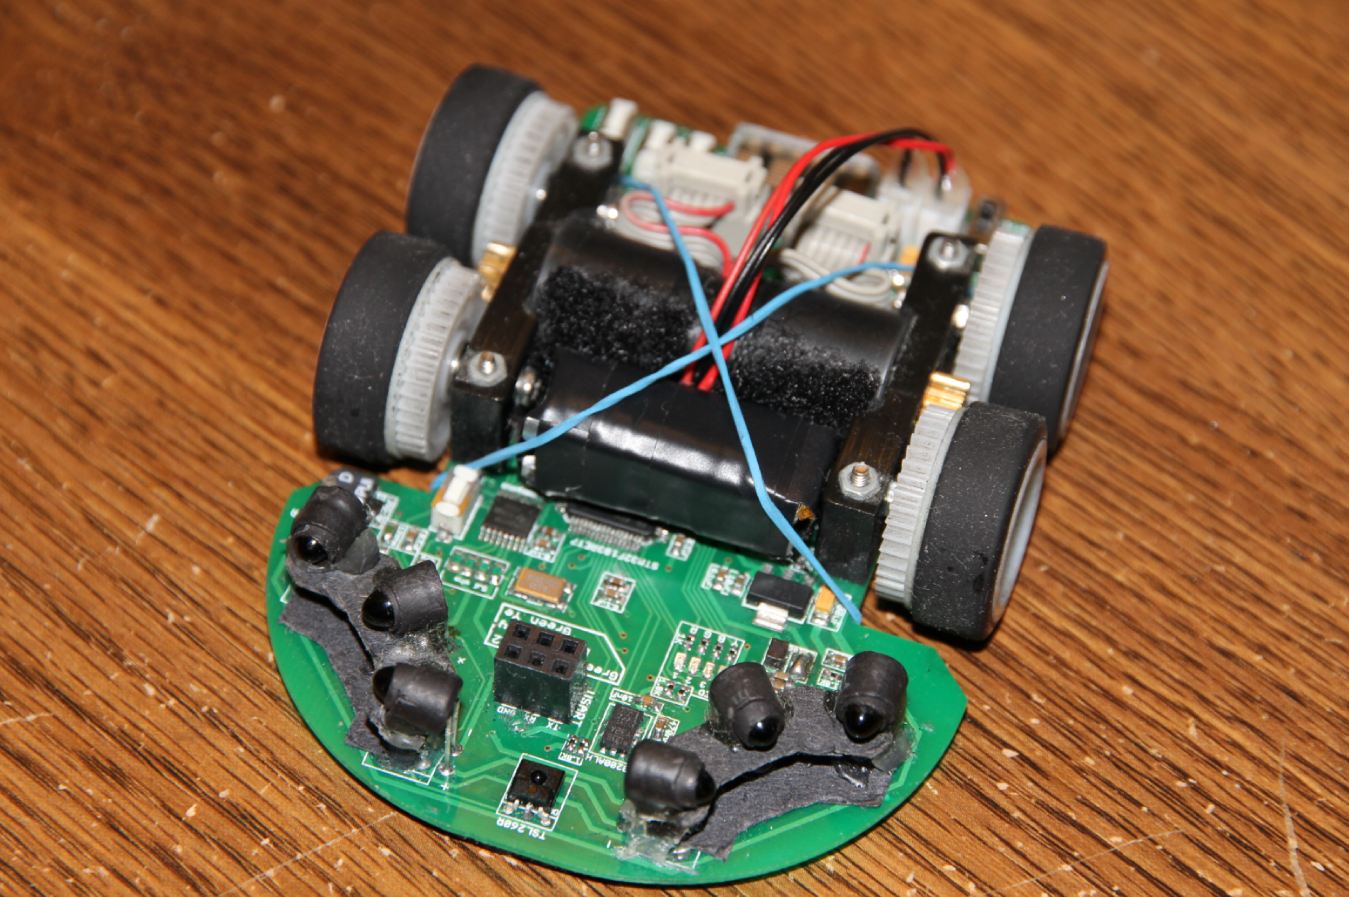
I used rubber band in the picture, and a better way is to use a putty kinda adhesive called blue tack to stick the battery on the PCB board to make the mouse look better!
After all my mouse is very much orgnized and the continuous current output capability is 120mah x 25C = 3A now, way enough for 1717T006SR motor.
Probably this is also the cheapest high discharge rate lipo battery I can find on the market. The only down side is the battery doesn’t have protect circuit and the charge rate is only 1C(which means charging current shouldn’t exceed 120mah, this is not a problem for me anyway since I set the outputting current for my charger at 100mah). I am not complaining about this with its low price, and it shouldn’t be a problem since my lipo charger limits the max charge voltage to 4.2V with 100mah max current output rate. The only thing I need to pay attention is I have to use the voltage meter built in my mouse to monitor the battery voltage periodically to prevent over discharge. I set the safe line as 7V, and if the battery voltage is lower than 7V when motor is not spinning, it will warn me the battery is low. If you are making such as feature to check the instantaneous voltage, just make sure don’t use the voltage to determine the battery voltage level when the mouse is running, because the voltage could drop under 7V shortly during the run even if you have a full battery(in this case the warning could be triggered by mistake).
Now my mouse runs with enough juice and never shut off even if I stop the motor by my hand!

Hi, sorry for my bad english ,i saw that ,some times some builders used 6v motors and they directly give 7.4v battery supply without step down,why?
When battery level is going down ,then motor speed is not on same level,that is also redusing,so i couldnt understand why they did that?please can you explain me,In these days i build micromouse using 430rpm pololu hpcb 6v gear motors,so what is best power supply for that motors,(i using 7.4v lipo battery)
7.4V is OK for a typical motor since there are some tolerance for the motor. As long as the motor isn’t overheating, the voltage supply should be OK. More voltage for more torque, as long as the motor doesn’t burn out.
hey i can get mini help. please you can contact me sanjulanipun99@gmail.com.