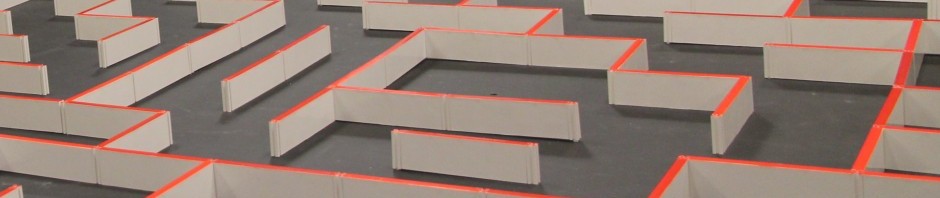
I started a project named “Futura” which is from the word “future”, by providing a cheap and high performance kit micromouse to relatively experience student at UCLA IEEE as the teaching tool to teach them knowledge necessary to drive a micromouse at professional level.
Here is the demo video about how this mouse can performance, it is capable for diagonal run however I didn’t have the time to test the parameters for all turns.
)
Lectures were given during the Winter quarter, 2014, along with slides and recorded video for each lectures, were posted on the futura site as well. Here is the link for the Project Futura Site: Link
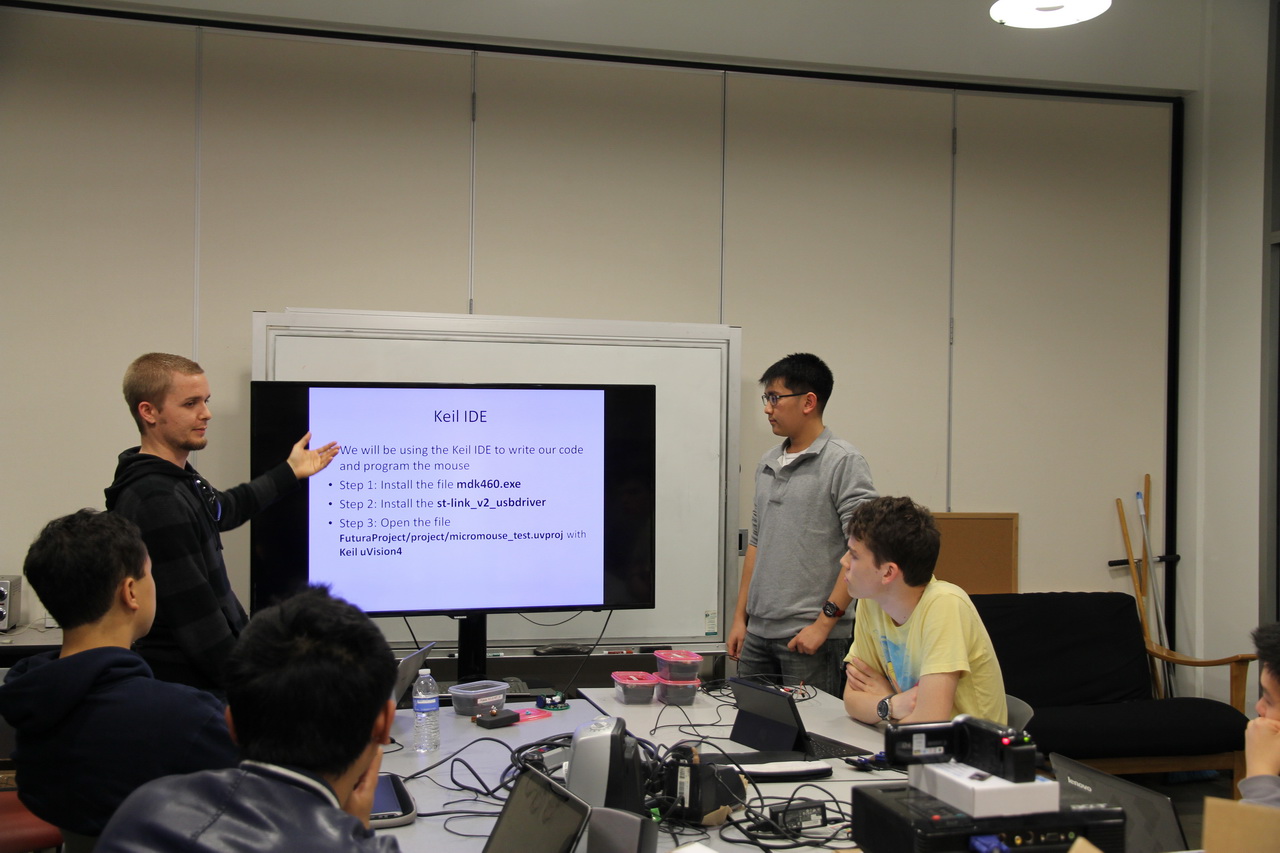
Lectures were given between my friends Jeremy Haugen, David Wang and I. 1-2 lectures were scheduled each week, along with the milestones/assignments for them in order to make them implement/test the code for each part.
A design review were held by Jeremy, David and I at early week 7 of Winter quarter 2014 to let them start to build their own mouse after they’ve got sufficient knowledge with micromouse. They need to create a eagle schematic for their mouse and then giving specific reasoning for the choices of each parts in order to past the design review.
Once they are passed the design review, lecture for PCB design guide was given to provide further help for how to make a proper PCB designing by apply some professional techniques.
Now all lectures are finished, and all they need to do is to finish the PCB design and send out their design to fabrication manufactures in China with expedited shipping at the end of the week 10 of 2014 Winter quarter.

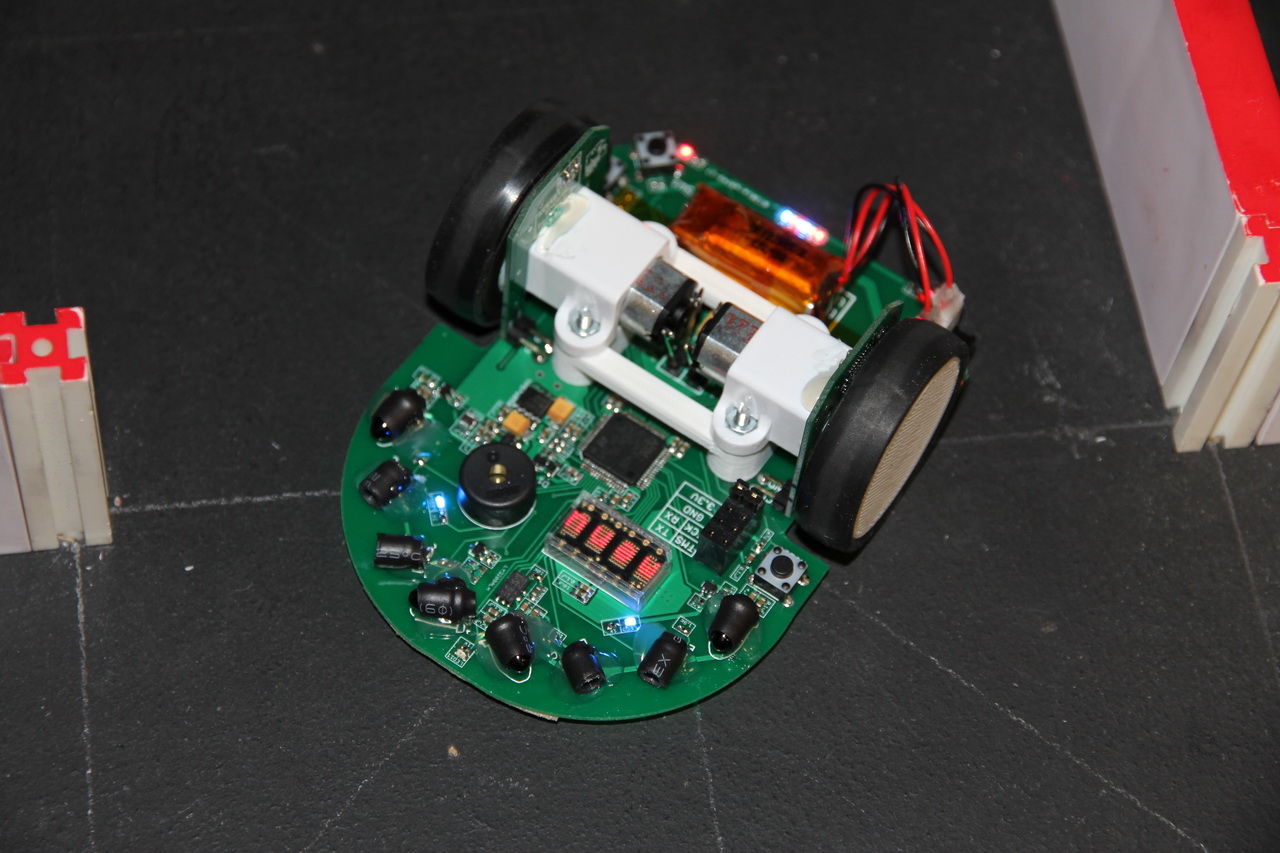
The reason I decided to make such a kit mouse is because I found a way relatively easy to mount a high resolution encoder on a PCB body micromouse by using the motors from pololu. This is mouse is also design to be very easy to assemble for it’s motor and encoder part.
Encoder is extremely important in order to make the mouse do curve turn and maintain robust control during the runs.
The encoder I chose is AS5304 hall effect sensor from AMS
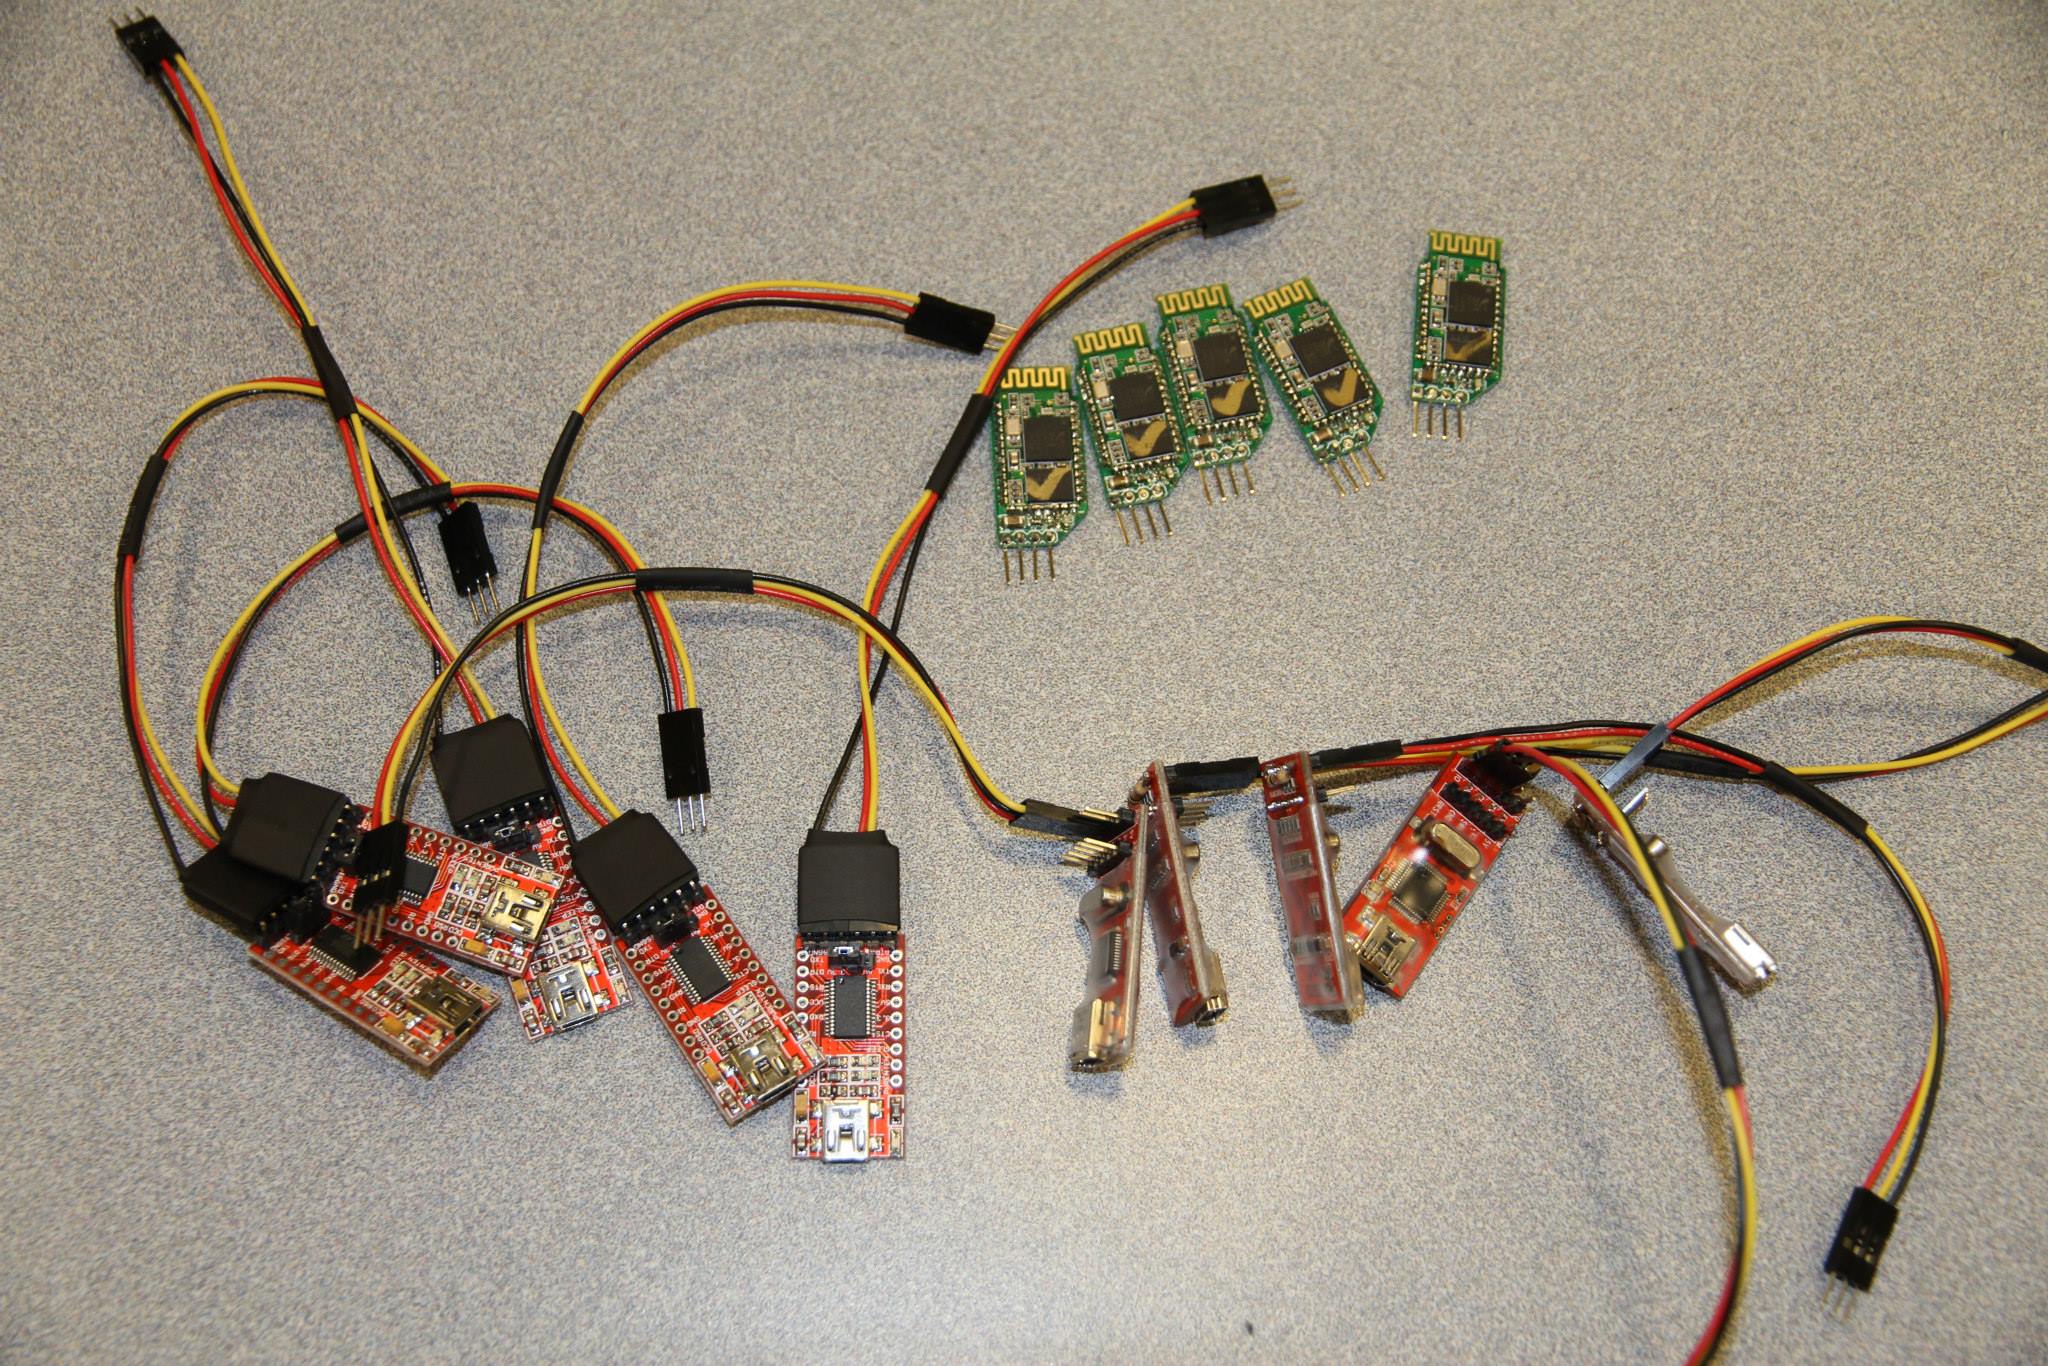
All necessary testing tools are provided, inlcuding Programmer, serial to USB adapter, bluetooth adapter, customized lipo charge and high discharge rate lipo batteries.
I hope people next year will be able to utilize the same kit to pass on my knowledge of micromouse at UCLA and all other schools.
Now I need a break and prepare for my Finals.

Hi there would you mind letting me know which webhost
you’re working with? I’ve loaded your blog in 3 completely different
internet browsers and I must say this blog loads a
lot quicker then most. Can you suggest a good internet
hosting provider at a fair price? Kudos, I appreciate it!
I use godaddy
However it isn’t the cheapest
Your project is awesome! But I do not know what components to use? Can you post the main components used in the Futura project?
Thanks for the answer
Didn’t I include all parts already?
Can you tell me which motor brand you use?
the motor for futura mouse is from pololu, the product number is 999 on pololu’s website.
What is the microcontroller’s exact part number? Also, the gyro seems to be obsolete, is there any pin compatible replacement available?
I am currently using MPU-6500 for gyro
STM32F405RGT6 or T7
Could you please share the eagle libraries of your new mice?
Can provide code that can run the entire course in the video