After times and times of changes on my newly coming mouse: Green Giant V4.1 Lite, I finally have chance to make a detailed review and had all the decisions confirmed. A lot of changes had been made since the last update I posted on April, on the post here. I redesigned the motor mount and enhanced the the place that cracked on my V2.2 mouse, also changed the position of the nuts who are going to help to secure the mount on the PCB.
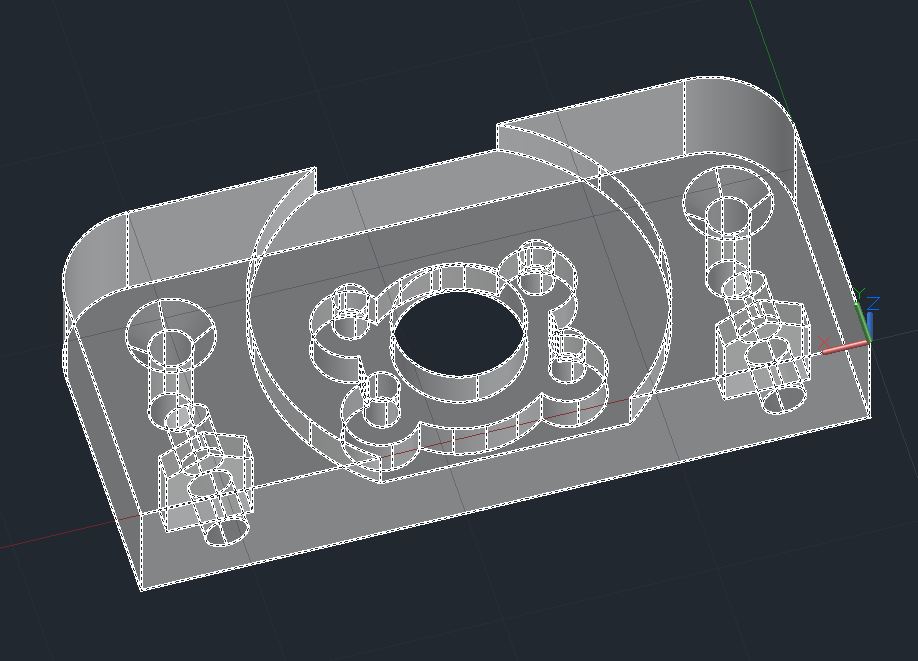
Basically I left slots on the side of mount to allow 2 M2 hex nuts to slide into the mount as the thread to secure the M2 screw between the motor mount and the PCB.
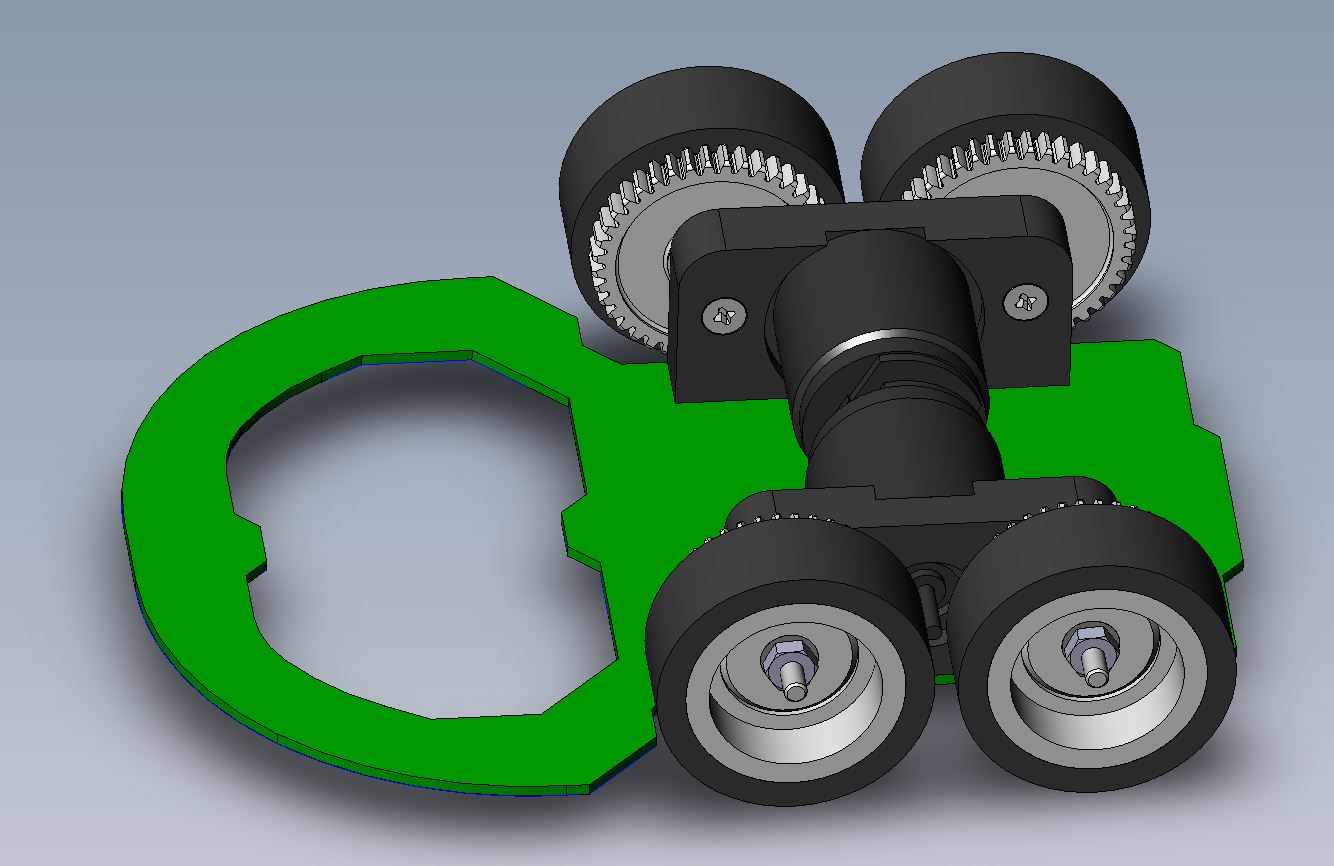
Since I increased the height of the mount, I believe the overall weight will increase as well. It might neglect the efforts I that I put trying to hollow the front part of the PCB in order to reduce the weight. So the overall weight is still unknown until I get the mouse assembled. I use fusion PCB from seeeduino this time, and it will take about 3-4 weeks in order to get the board since I chose the cheapest shipping method, which means my mouse will be like finish after one month.
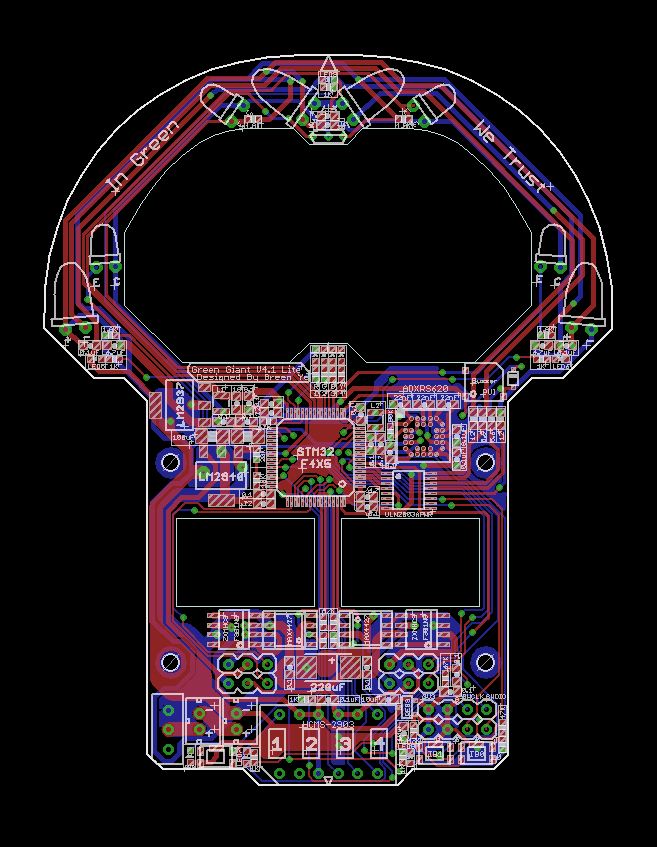
Because l am lacking of the access of CNC, I won’t be able to place emitter and receiver of the mouse vertically so I decide to place them in parallel instead.
Schematic for Green Giant V4.1 Lite
Other than this, nothing too big for changing.
I made measurement this time in order to decide the angles and locations for the side sensors to make the mouse collect data comfortably at any situation. I made some guide line on the mouse layout and estimated that the rotation center is 5mm ahead of the motor shaft. Thus the light beam for the side sensor will slightly ahead of the posts on the side.

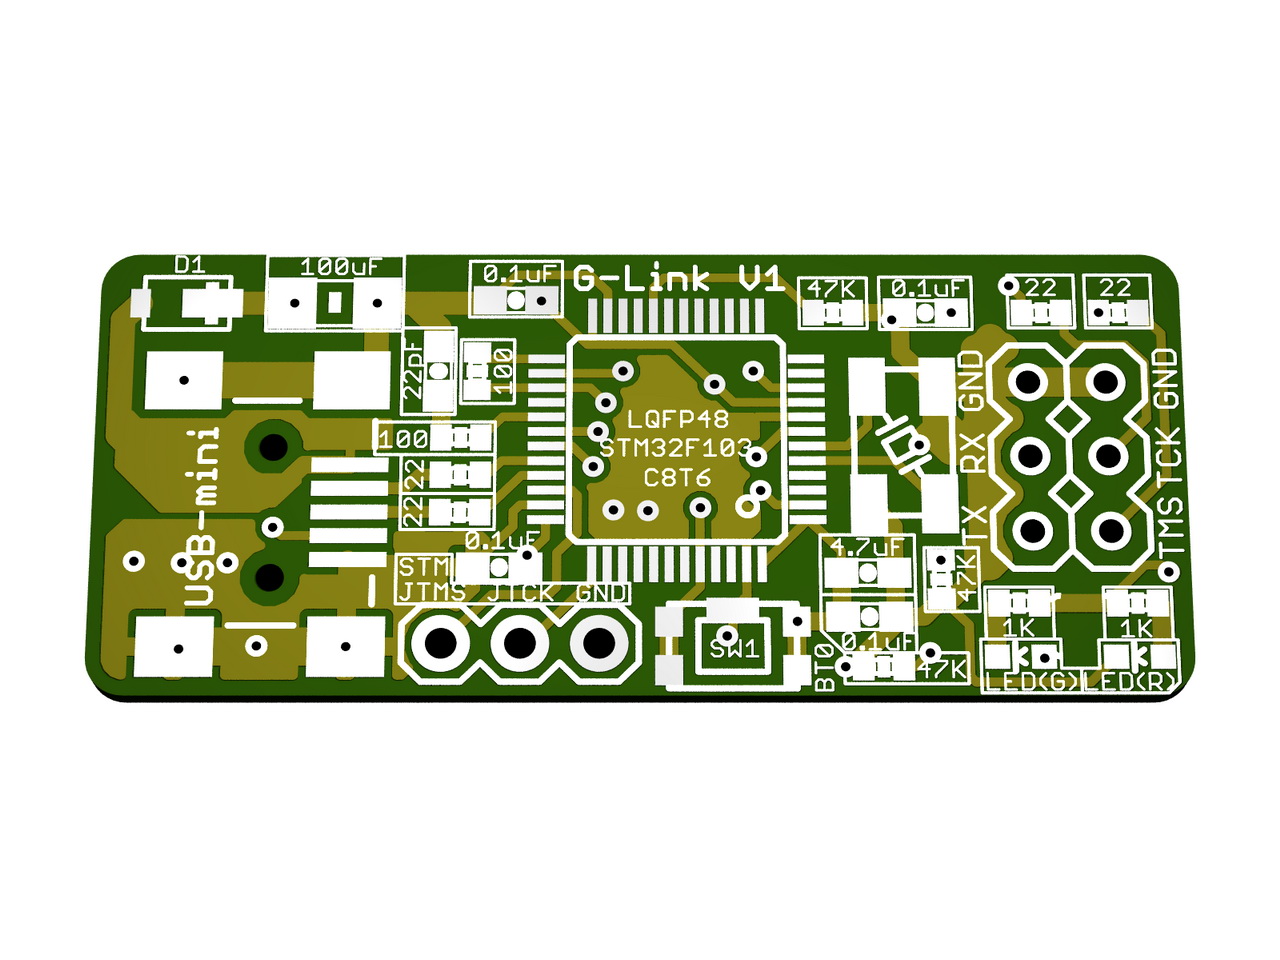
The other thing I made was to design my own miniature version ST-Link V2 so I can just simply leave in little snack case along with all other gadgets(such as battery, charger, they are all very small). I won’t release the schematic of my customized version ST-Link V2 until I receive the PCB and make it work.
I am going to talk about how to select and make your own high discharge rate micromouse batteries on my next post.

Hi,
Nice micromouse!I have a question, i’m making my first micromouse and i would like some advice on where to point the sensor ( i’m using 6 like your previous mouse).If i put the cener of the mouse in the center of the cell the diagonal sensor should point at the post? It is best to put the diagonal sensor between the other two ?
Hi,
If so, the diagonal sensors better to point to the place a little bit to the front of the post. The diagonal sensors of mine are a little bit too much to the front so I ended up smaller the angle to make them point a little bit backwards. side sensors are almost useless for me now, that’s why I went for 4 sensors for my new mouse.
hello how are you first want to congratulate you for your post.
I wanted to ask that care about these engines Store (web) because in my country I find engines microraton good size for me thanks
Hi,
which country are you living? There should be fauhalber distributor every where for you to buy 1717T motor.
Hi, nice work.
I’m working to get a really nice micromouse but i cant find where to buy tires gear and pinions. I would really apreciatte if you help me with some information. Thanks in advance
if you search the model number you will fine them.
the 12T metal gear is from skyhooks.ca or homefly.com
Hi,
I wanted to ask whether you share a library for sensors TEFT4300 and SFH4545? Of course, if you do not mind. 🙂
I’m sorry, I found. 🙂
Can you share it with me?
The library is in the futura site.